|
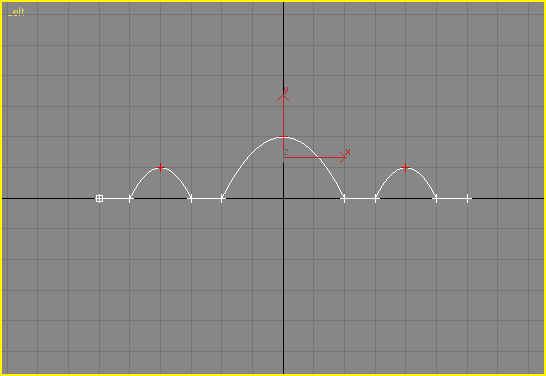
How to create a bridge using GLB3 1: Draw a spline in one of the side view( eg. left) that represents the base of the bridge. To do this start with a simple line and then smooth the point(s) where you want the arch(s) of the bridge to be. See below.
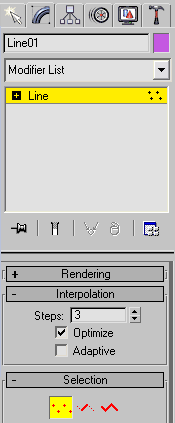
2: Use the Divide Curves button on GLB3's UI to add points to the curved sections of the line for GLB. It is best to use the Interpolation Steps in the splines properties in the modify panel to deside how smooth you need it to be. Just set the Intepolation Steps amount until the line appears smooth enough for your level and then set the Divide Curves spinner to the same value and press the 'Divide Curves' button. This will keep the line smooth when it is added to plan. A value of 3 should do for this example.
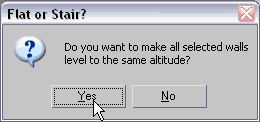
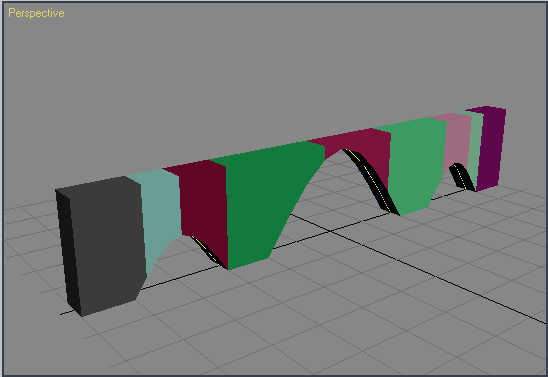
3: Next set the wall width to say 128, this will be the width of your bridge, and the hight to 16, then press the 'Add to Plan' button. You should now see a set of walls that go up and down same as the line. You now need to level the tops of these walls to the same altitude so as to form a bridge. To do this select all the walls and then press the 'level' button. In the Dialog that appears choose 'Yes'
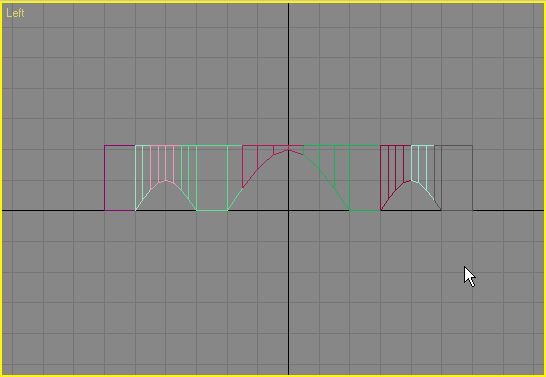
4: You should now see the walls take the shape of a railway type bridge.
Note: You can also easily curve the bridge by just curving the line you made it from or by moving the walls vertices using the 'Edit Verts' button after it has been created. Time taken to create bridge: ~ 30 seconds To ask any questions go to the Maple3D Forums . Copyright © 2006 Michael Little, All Rights Reserved. |
